Ok, Google Earth is started. You have found the hill you wanted. You are oriented to some compass direction (the middle mouse button is for that). What's next?
Next is to turn off those irritating layers.
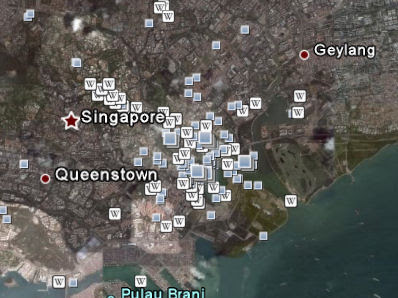
Just joking. Though I still do it everytime. Layers like Geographic Web will clutter up the map with Panoramio or Wikipedia placemarks so I usually turn them off from the Layers sidebar.
 Want to make those boxes disappear? Turn off Geographic Web from the Layers sidebar.
The next step is to make your application fullscreen using shortcut key F11. You'd want to see as much of the hill as possible.
When the hill is found, select a location you will like to see the hill from.
Then zoom in on the location. Before you touch ground level, tilt your view (using the middle mouse button) from looking at the ground to look at the horizon or hill.
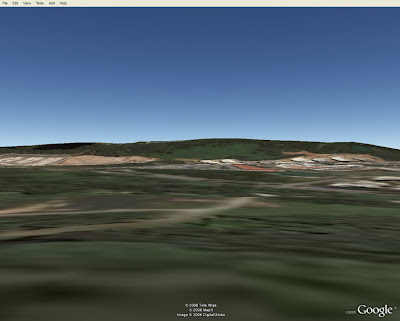
 Bukit Gombak using terrain feature. Notice the screen has minimal cluttering, the result of turning off whatever can be turned off in the View menu.
There you have it!
But this is not the end. You can actually make the hill look bigger. This is called elevation exaggeration. You may need it to make the ridge more prominent, for example.
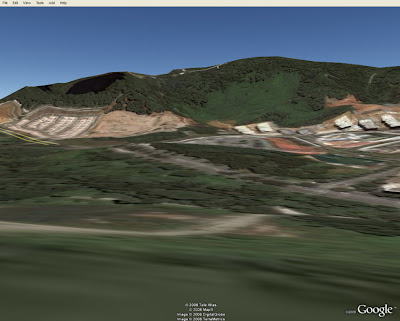
 Bukit Gombak with elevation exaggeration. Differences, like the height at different parts of the ridge, are now more prominent.
As an exercise, you can start examining your favourite hill in Singapore. Or try Mount Everest.
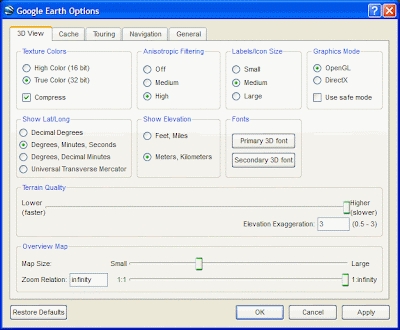
Before I end, here are some tips to make your favourite hill nicer. In Tools-Options, you get to set the elevation exaggeration, as well as the terrain quality and anisotropic filtering.
 Google Earth Options dialog box. You get to set the elevation exaggeration here.


6 comments:
Wow, very cool and neat indeed. But the problem is that my middle mouse button is just a scroll button. Cannot tilt - only can scroll and can be pressed. Can it still be used for this purpose?
Sorry, I wasn't clear enough. I mean tilt your view using the middle mouse button - by pressing it.
Thank for the terrain tips, Icemoon!
Thanks for the very thorough explanation. I will need to try it out for myself.
wah, now touch on your IT side liao huh. :P
Glad to be of service, everybody.
And Adelin, the IT side becoming rusty liao. I see myself less and less of an IT guy nowadays.
Post a Comment